User Management
This guide covers how to create, edit, and delete users in knot, as well as manage their roles, groups, and resource limits.
Creating a User
To create a new user:
- From the menu, select
Usersand then clickNew User. - Fill out the form presented:
User Details

-
Username: The username to assign to the user. -
Email: The user’s email address, which they will use to log in. -
Preferred Shell: The shell to use when the user opens a web-based terminal into a space. If the selected shell is unavailable, the system will attempt to use another available shell. This can also be changed per space during space creation. -
Timezone: The timezone to set for the user’s spaces. Typing in the field generates a searchable list of available timezones. -
GitHub Username(optional): If set, the system will attempt to retrieve the user’s public key(s) from GitHub. -
SSH Authorized Keys(optional): If set, these keys will be passed to spaces to allow passwordless SSH logins. To add multiple keys, enter one public key per line. Users can set their own SSH authorized keys by clicking their username in the top-right corner of the interface.
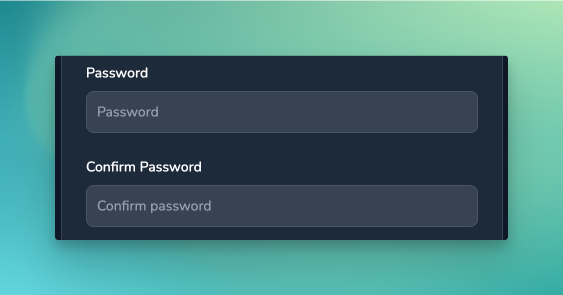
Setting a Password
-
Password: The password to assign to the user. Users can change their password after logging in. -
Confirm Password: The password must be entered again to confirm. Both fields must match.
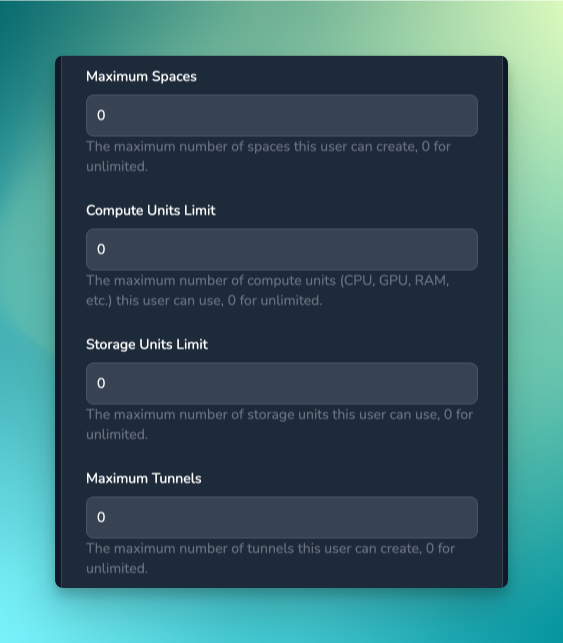
Resource Limits
-
Maximum Spaces: The maximum number of spaces the user can create. Set to0for no limit. -
Compute Units Limit: The maximum number of compute units the user can use. Set to0for no limit. Compute units are only calculated when spaces are running. -
Storage Units Limit: The maximum number of storage units the user can use. Set to0for no limit. -
Maximum Tunnels: The maximum number of tunnels the user can have at any one time. Set to0for no limit.
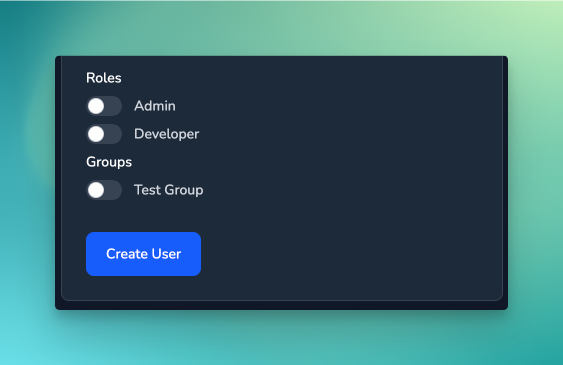
Assigning Roles and Groups
-
Roles: A list of optional roles to assign to the user. Roles define the user’s permissions within the system. -
Groups: The groups the user will belong to. Users can only access templates that are either ungrouped or belong to groups they are a member of. Groups can also define Compute and Storage Unit limits.
- Once all fields are completed, click
Create Userto save the new user.
Deleting a User
When a user is deleted, any spaces they created are also deleted, and any data in associated volumes is permanently lost.
To delete a user:
- Select the menu item for the user you want to delete.
- Click
Deleteand confirm the action.
Delete User
Editing a User
Editing a user is similar to creating one:
- Select the
Editoption from the user menu. - Update the user’s details, roles, groups, or resource limits as needed.
Note: If the password fields are left blank, the user’s password will remain unchanged.